
Iron sights have been around as long as powder-actuated weapons and are intuitive to the human brain, yet some new shooters will no doubt have questions on how they developed in recent history and what you should use. The focus of this will be around rifle use, specifically modern sporting rifles, i.e. AR-15 rifles.
What Are Iron Sights?
Iron sights come in many different forms for many different weapons, but, for our discussion on the AR, they are the sighting method originally used on the Armalite family of rifles, with many folks now running fold-down backup irons in case of optics failures.
Carry Handle Irons
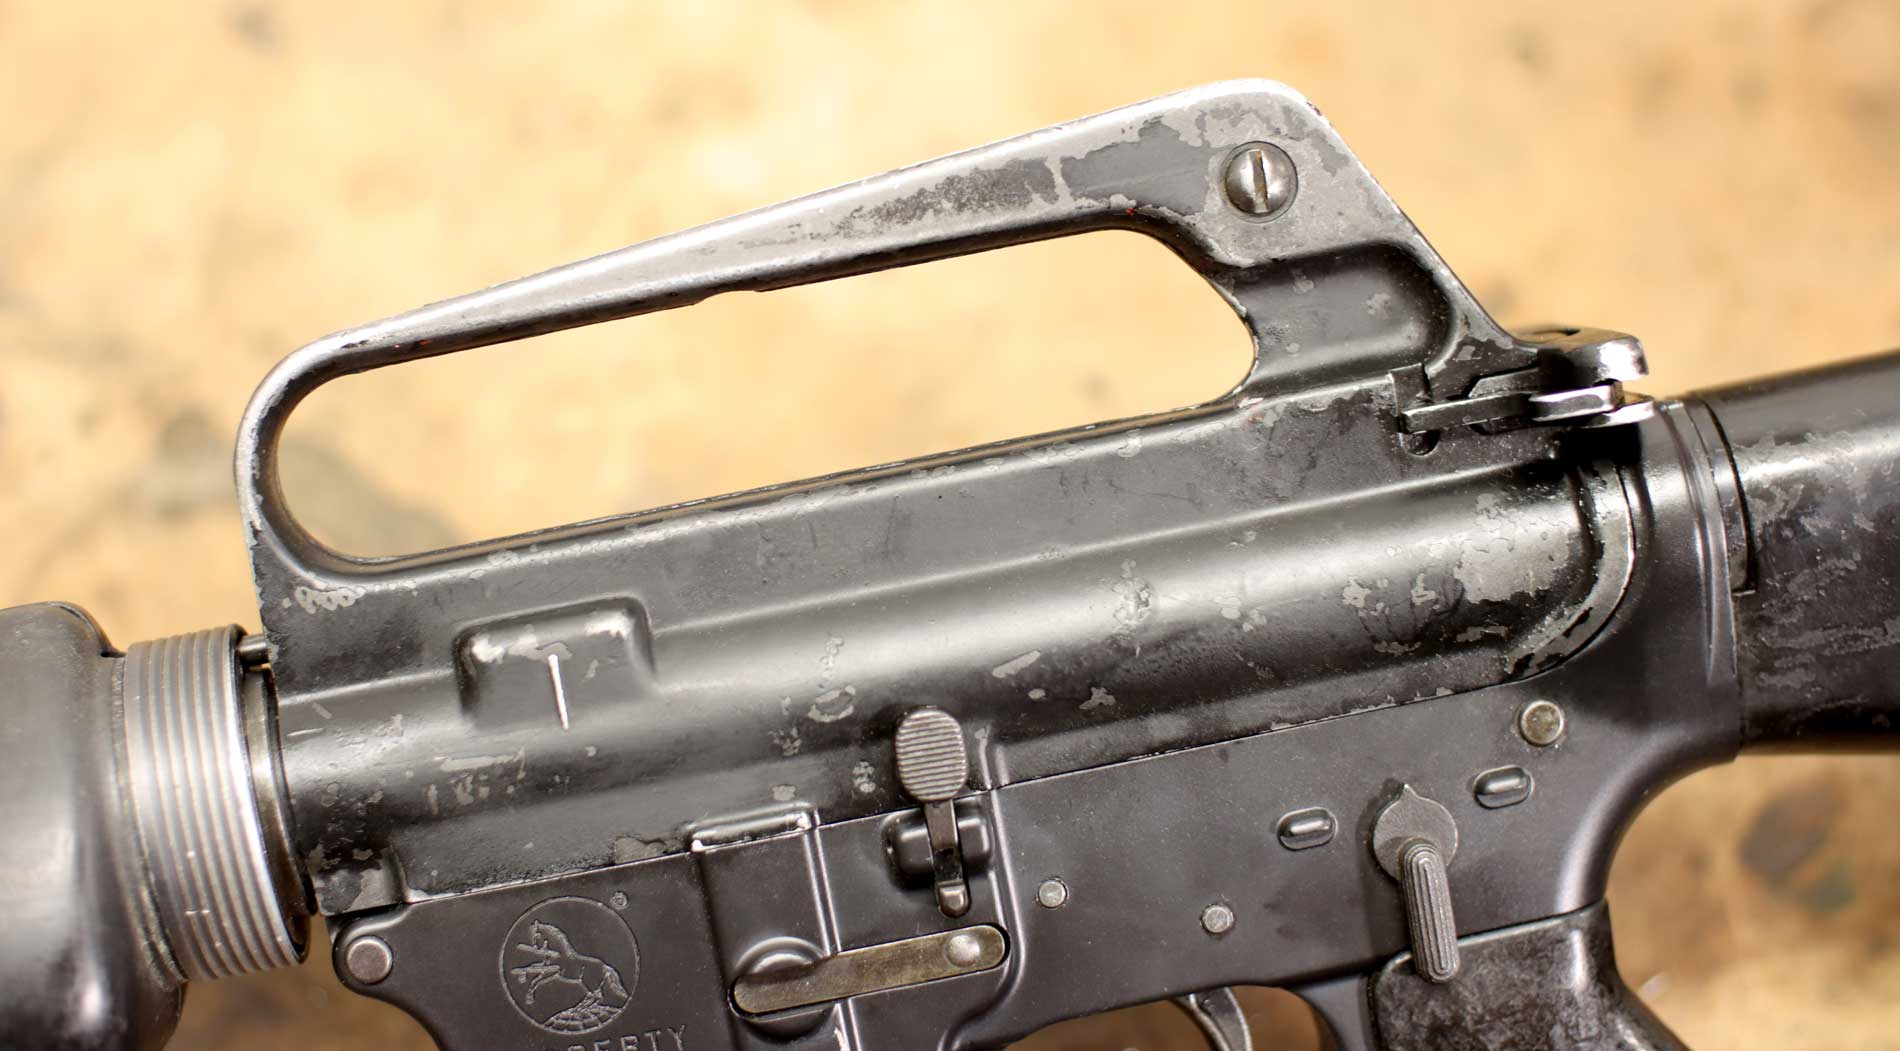
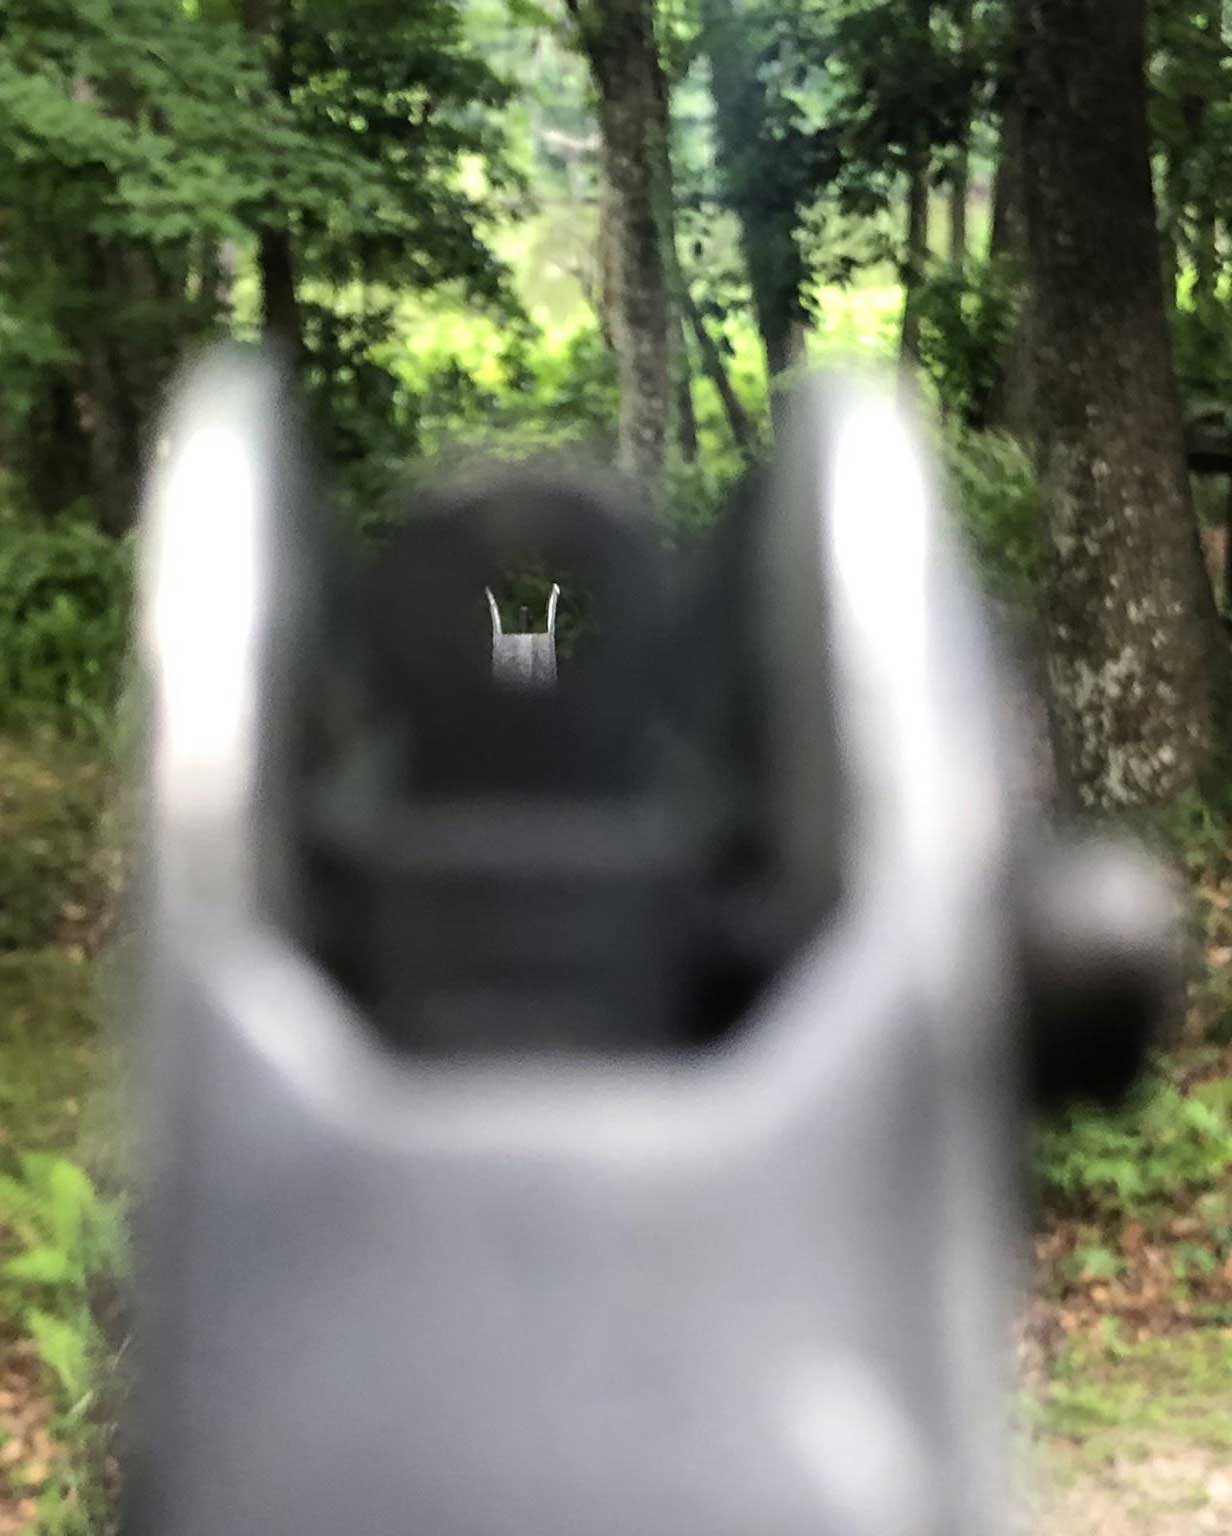
Historically the AR15/M16 family of rifles used a carry handle style of iron sight. On the original M16 fielded in 1964 moving all of the way through to the M16a2 fielded in 1982, a non-detachable carry handle style sight was the norm. During the Vietnam era this would have been the style of sight used. Below is what they would have seen when looking down range for target acquisition.
The carry handle was an integral part of the upper receiver and thus couldn’t be removed or swapped. This made for a great, rigid, unyielding rear sight that was hard to break with very few failure points.
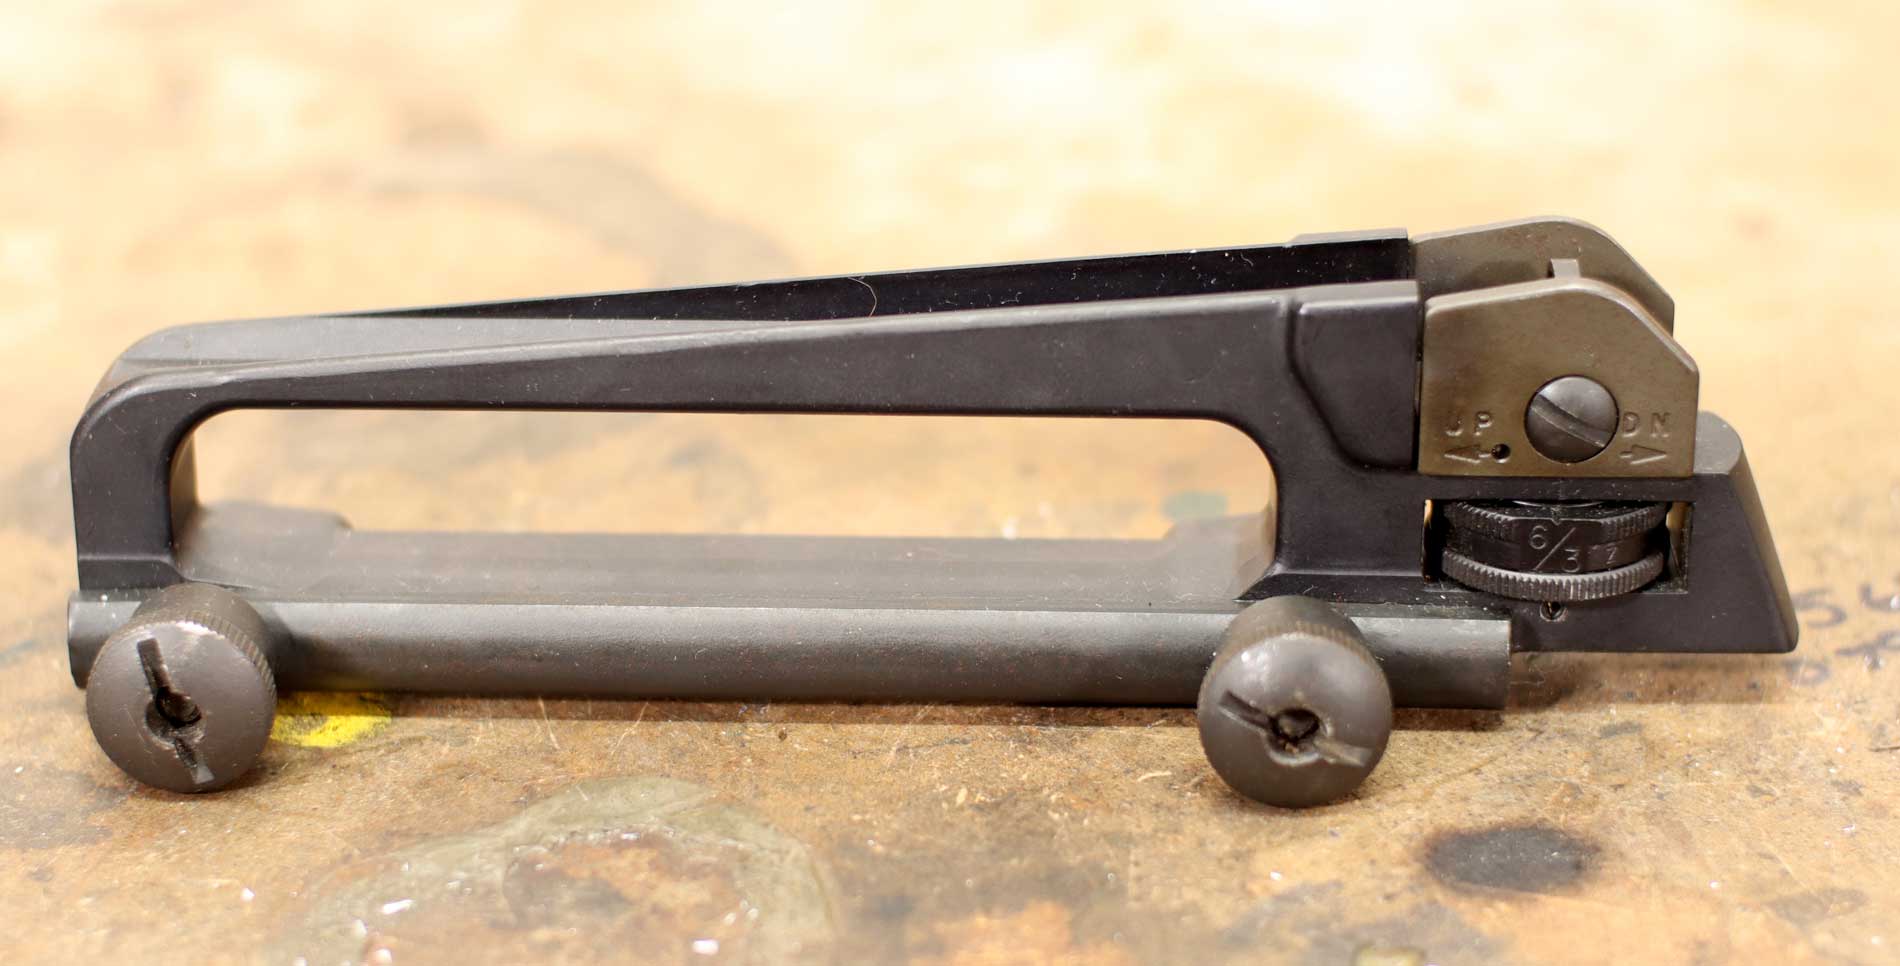
With the adoption of the M4 in 1993 and the M16a4 in 1997 came the flat top upper with a removable carry handle. These are bolt-on Picatinny carry handles that can be removed and replaced with more modern Picatinny railed optics, those being a story for another day. The carry handle is aesthetically great plus durable and battle-tested if just a little slower than a red dot when it comes to target acquisition.
A1/A2 Front Sight
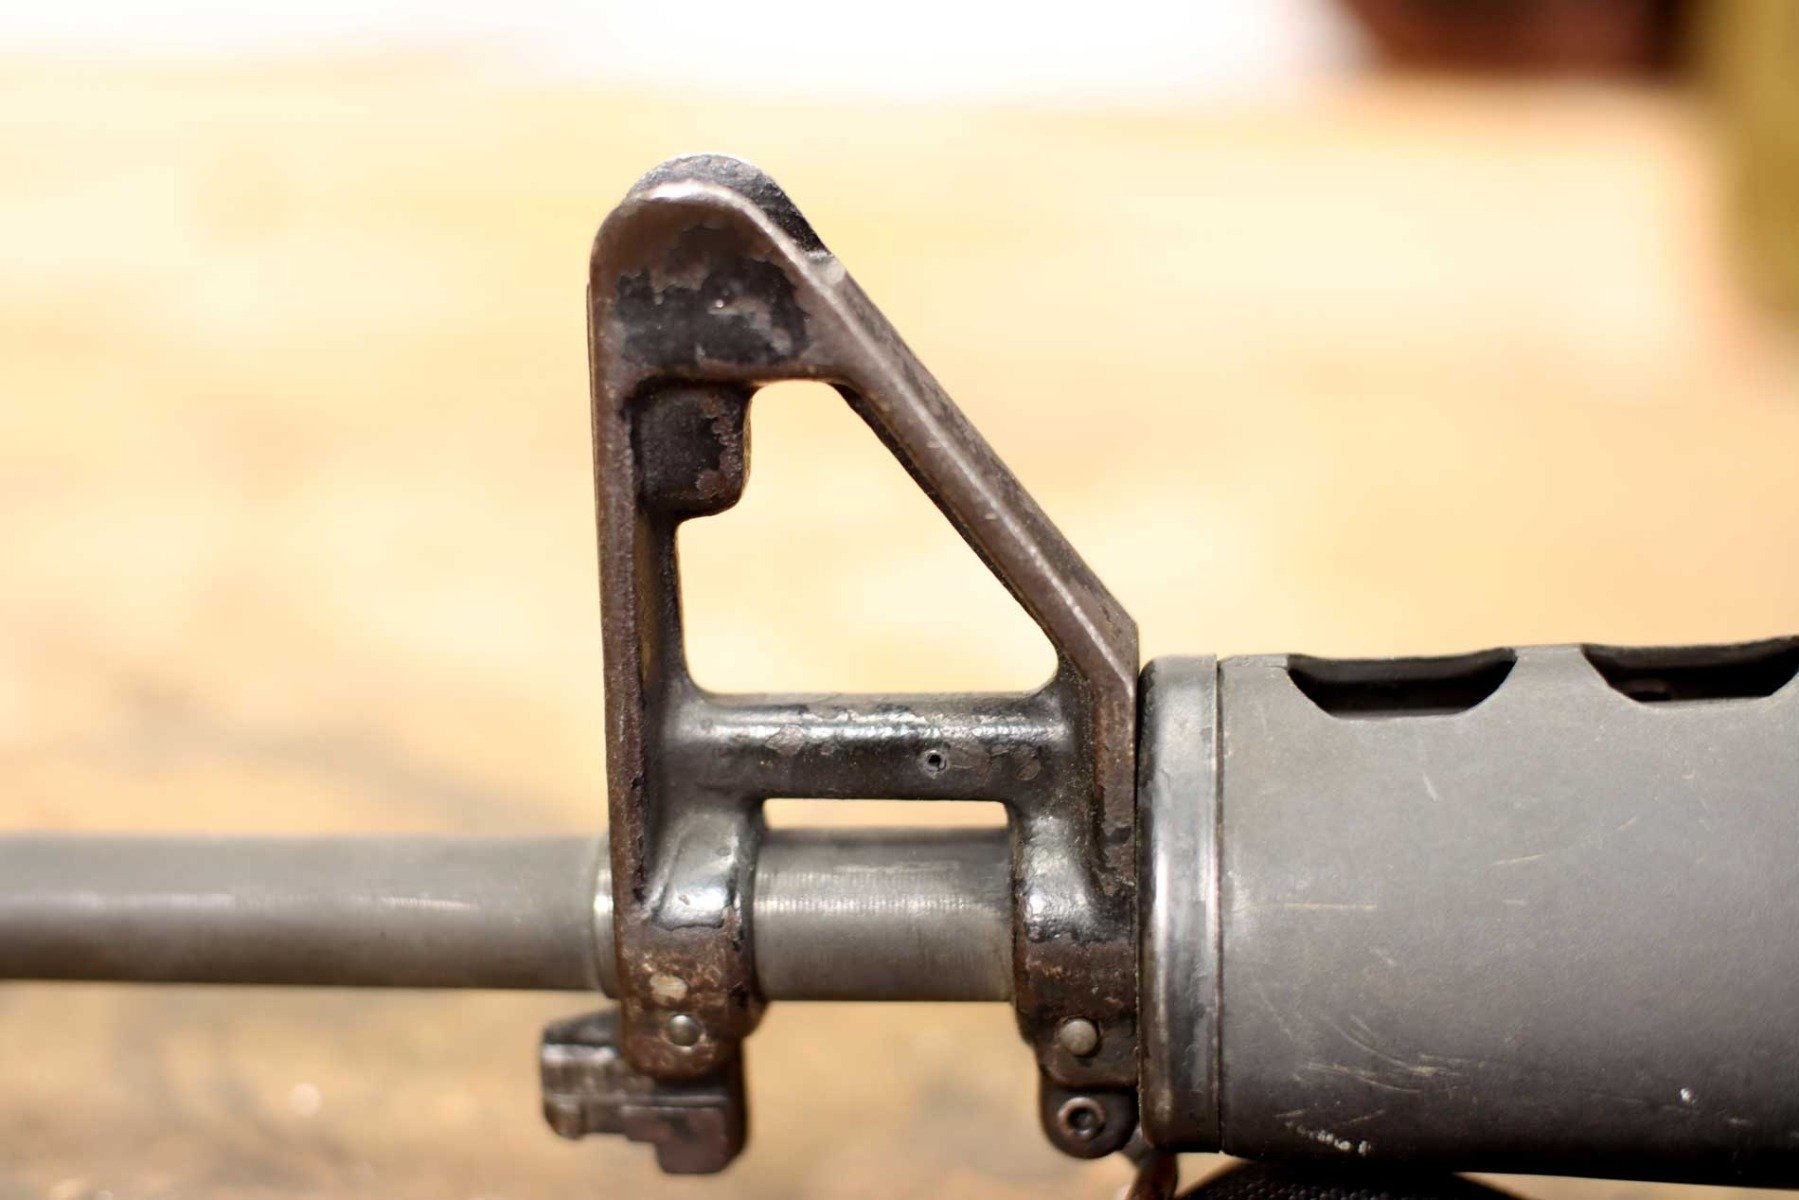
The other half of the AR15/M16 iron sight equation is the front sight. Historically for standard rifles, your front sight tower was pinned in place to make it bomb-proof, and they truly are. Pinned-on front sight towers are rugged things and can take a lot of abuse. The problem many shooters find with permanently attached front sight towers is that they obscure the lower part of your optic when aiming which is why many shooters today are moving to flip-up iron sights, which we’ll get to further in the article. If you have a fixed front sight, it can be removed and replaced with some effort and the proper armorer tools in your garage. Any local gunsmith shouldn’t have trouble removing a pinned on sight.
Flip Up Iron Sights
Most modern shooters will be looking for flip-up iron sights, aka backup iron sights or folding sights. These types of sights are typically attached to the upper receiver and front of the rail. The major benefit is that they fold out of the way of your scope or red dot giving you a clearer view of your target. They are also there if the worst were to happen and your red dot was to go down while your rifle is actively being used. On some models, all it takes is a quick button press and you’re back in the fight. And of course, irons tend to be less expensive than nice optics which means that while you are saving those pennies for the optic of your dreams, you can still be out getting trigger time and practicing.
Fixed Front Sight Post
So your rifle already has a fixed front sight post. Great! That means you don’t need to buy a folding front sight which means more money for ammo and training.
Let’s discuss how to use, install, aim, and sight-in. Due to your existing fixed front sight post, all you need to do is settle on a rear sight, either fixed or folding, and learn to use it. You can pick up a carry handle and go old school, or a folder for when you move up to an optic. In either case, you’ll need to attach your rear sight to your AR upper receiver. You will want your rear sight pushed as far back as possible on your upper. The further the distance between your front and rear sight the better because it helps improve accuracy. When you install the sight make sure to use a little thread locker and tension it down so it won’t loosen up.
Irons have been made to work with the human brain so don’t overthink aiming. Get behind your rifle, center the front post inside the rear ring and squeeze the trigger; Your brain is designed to want to center objects so let nature work. With a properly sighted rifle, whatever is sitting just on top of the front post when it’s centered in the rear sight will now have a hole in it. “But how do you get it sighted in?” you may be wondering.
Let’s cover the two main principles of optic sight in:
- Elevation - (how high or low the bullet strikes) is set by raising or lowering the front sight post.
- Windage - (how far left or right the bullet strikes) is set by moving your rear sight left to right.
Elevation is opposite to what you might think. Raising the front sight will move your bullet impact down, lowering the front sight will bring the impact point up. Remember that, want to shoot lower, RAISE your front sight, want to shoot higher, LOWER your front sight.
When it comes to windage, they move in the same direction. If you want your bullet to hit further left, move your rear sight to the left, if you want it to hit further right, move it to the right. And with all things, take your time as you sight in your irons; It’s part of the fun.
My personal opinion here is to zero your iron sights at approximately 25 yards and have it so whatever is sitting on top of the front post when the trigger is pulled is where the bullet goes.
Railed Sights
If your rifle doesn’t have a front sight post but does have a nice Picatinny rail you’ll need to pick up both a front and rear sight. Same as before, the rear sight should sit as far rearward as possible on the upper receiver. Your front sight needs to be pushed as far out on the rail as possible; This is why having a quality rail is important, you don’t want it to loosen or move under stress.
The same sighting fundamentals apply to MOST flip up irons, the front controls the elevation while the rear controls the windage.
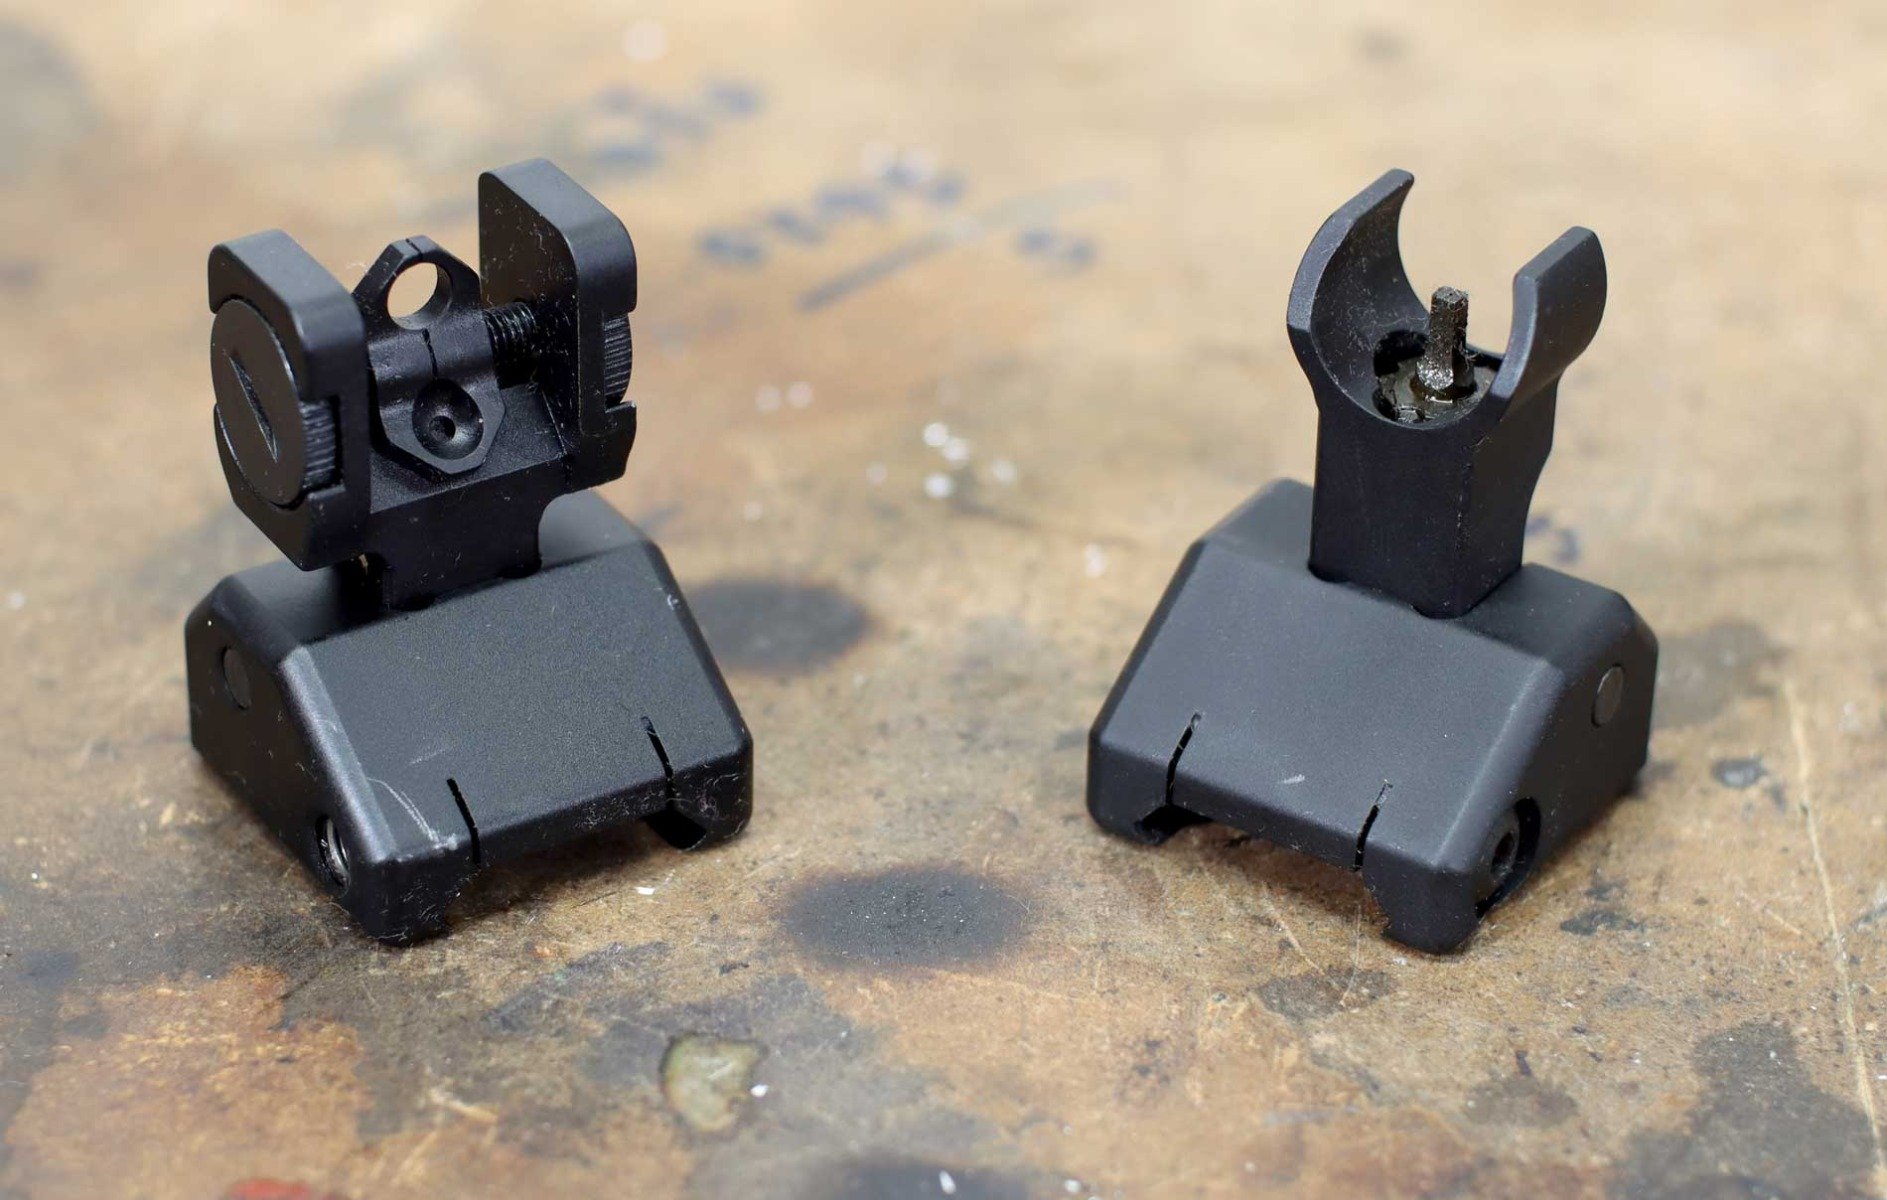
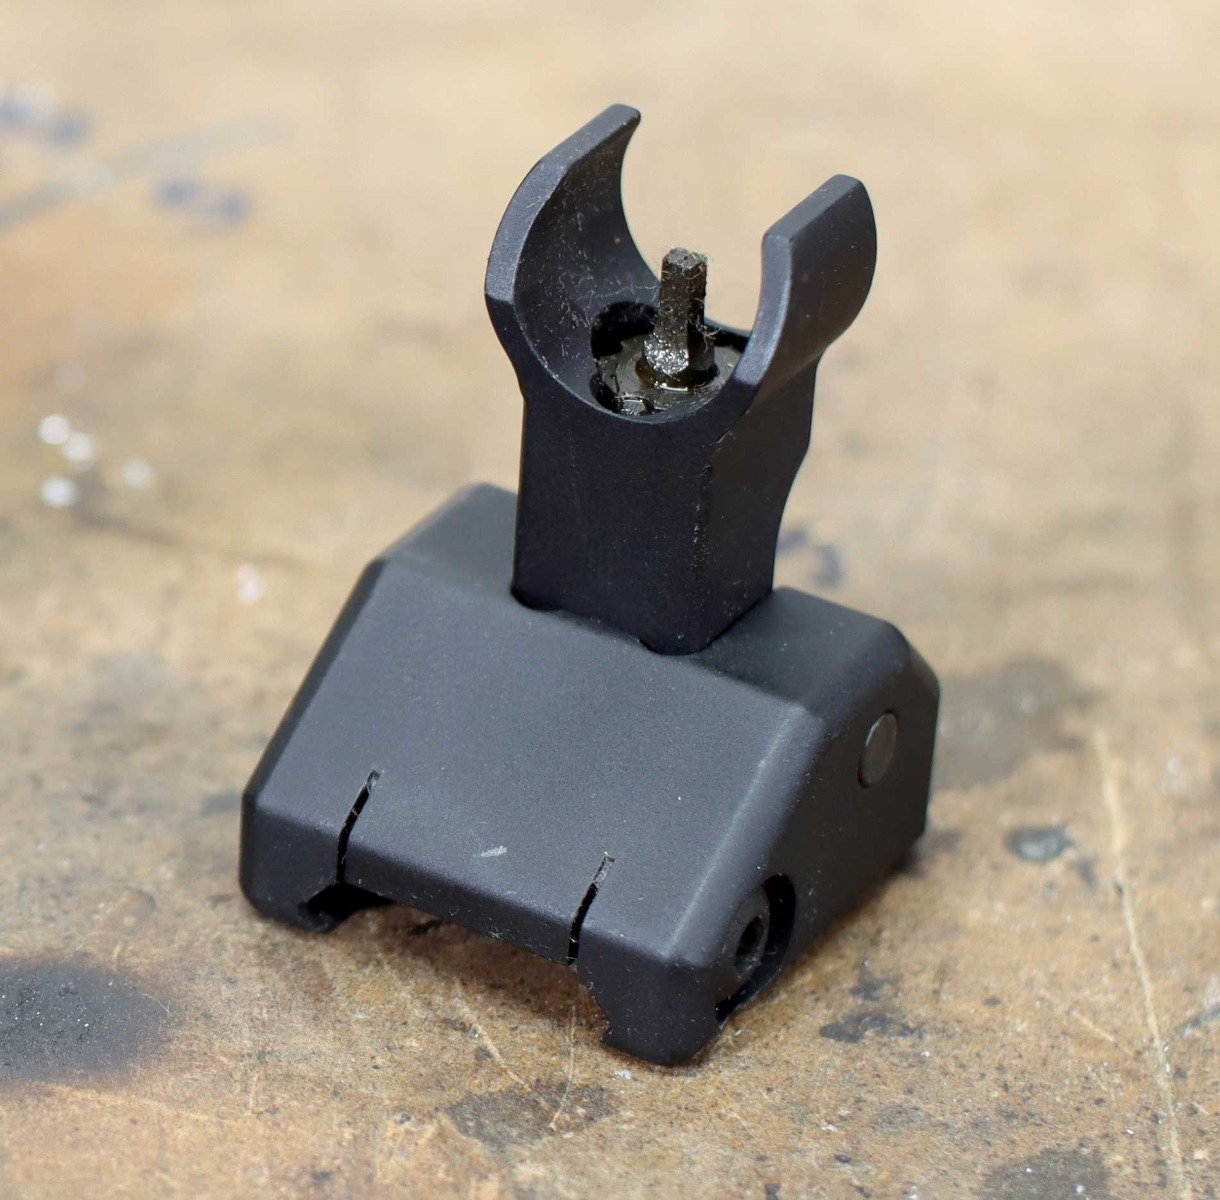
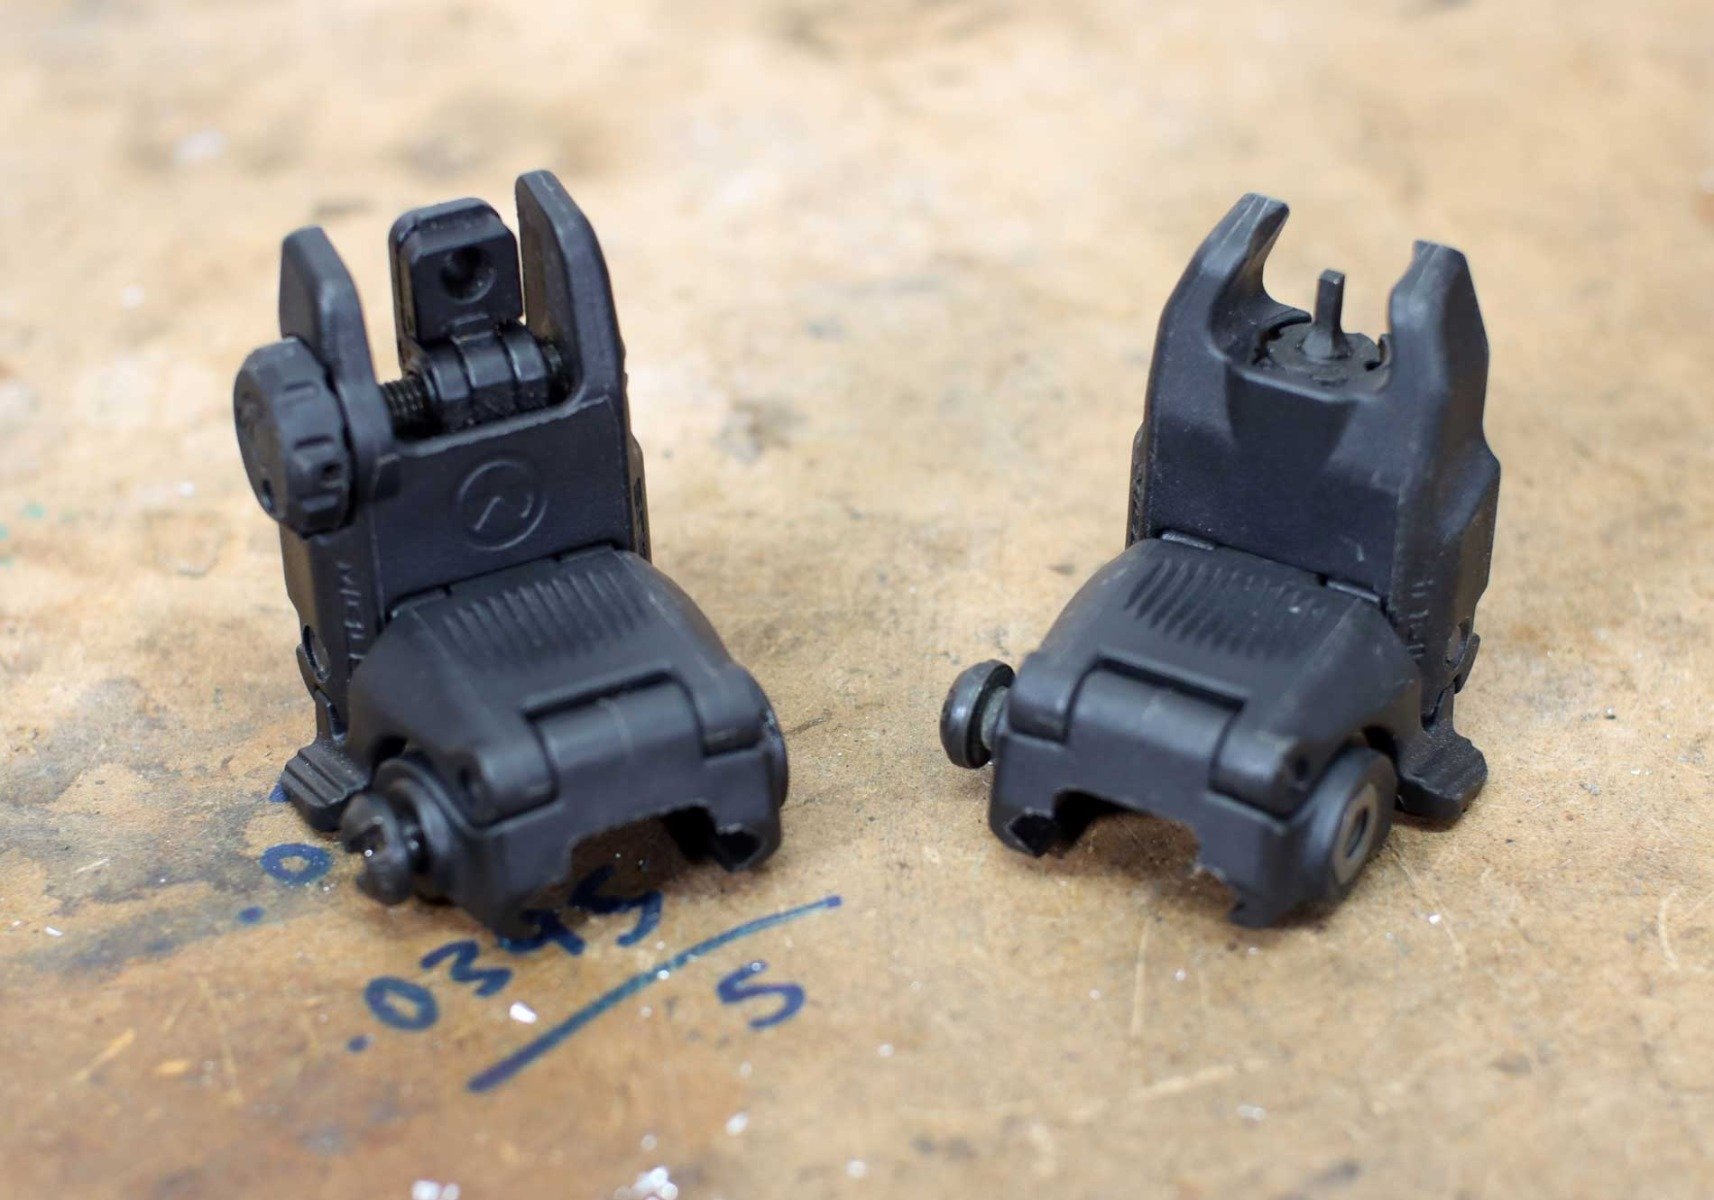
Plastic vs Metal Iron Sights
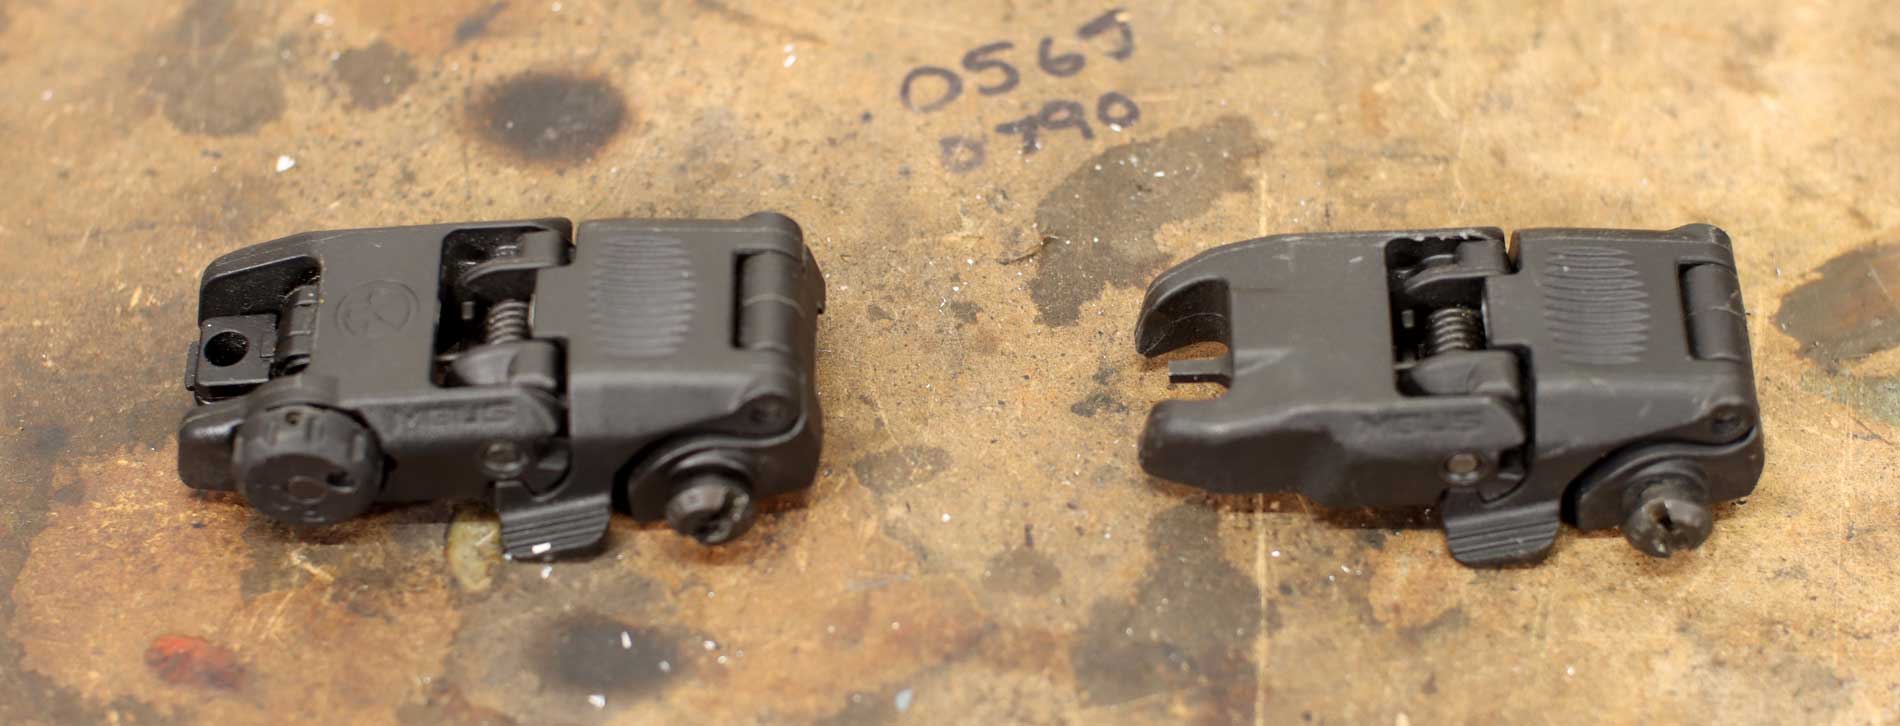

The plastic irons such as Magpul flip-ups will work for most situations and hold up to wear and tear just fine while also being lighter (top image).
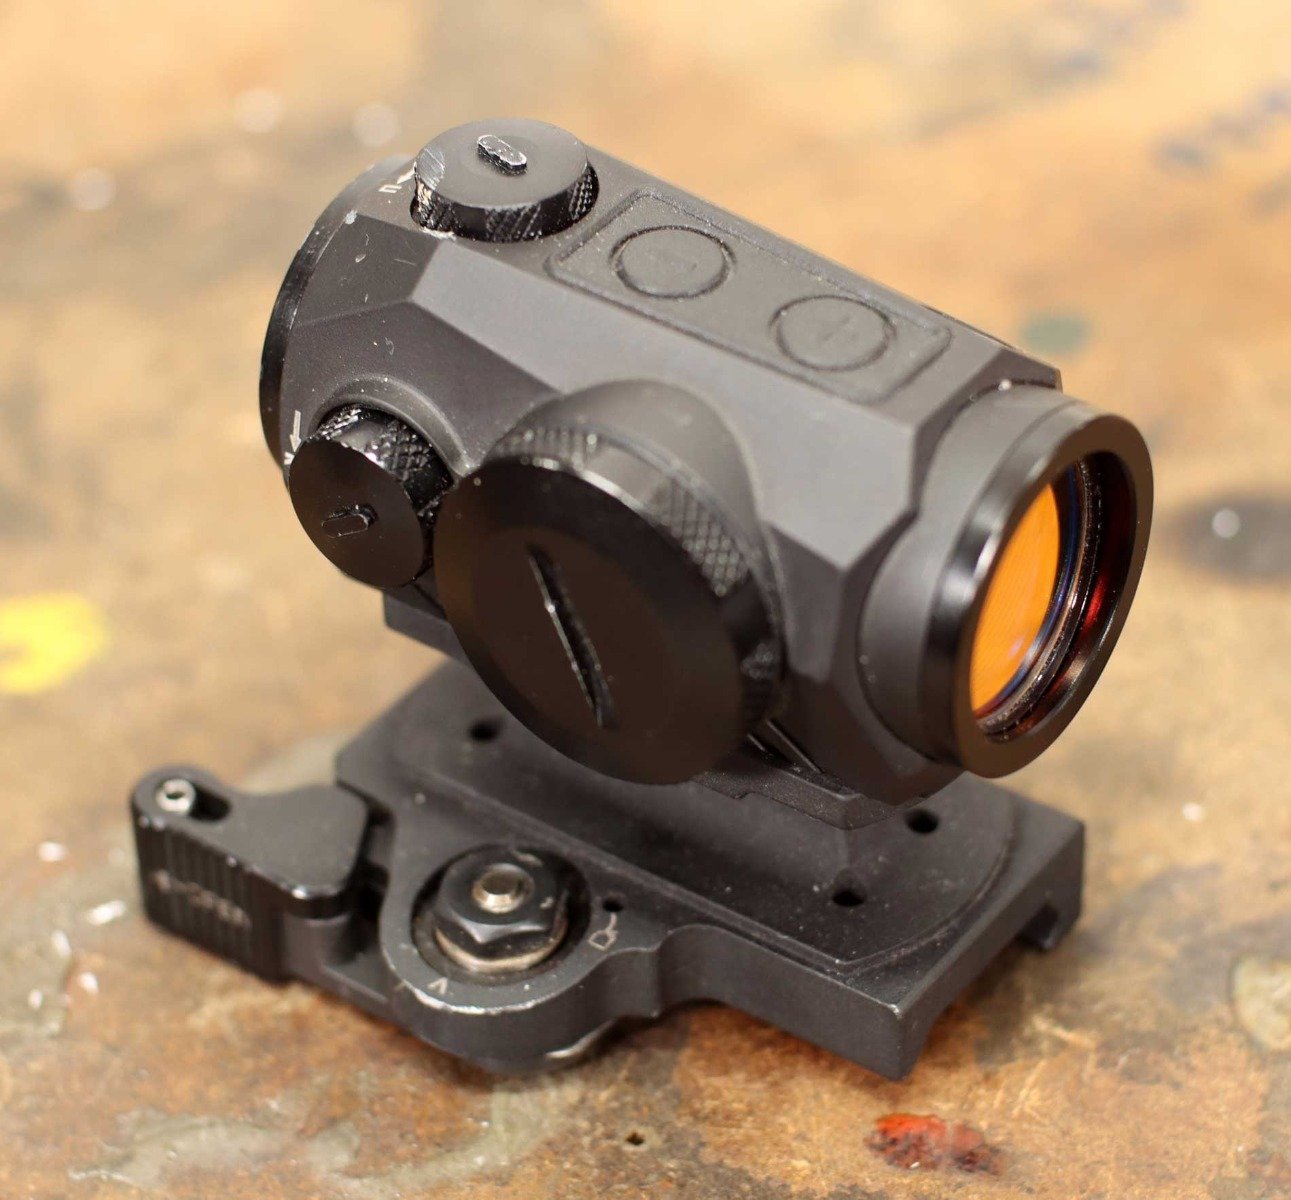
Aluminum and steel sights are a step up in durability and weight (bottom image).
The only time you don’t want to run plastic irons is if you are mounting the front sight to a railed gas block as it can melt the sight with enough shooting. If this is you, you need metal.
Red Dot Co-Witness
There are two main co-witnesses that people discuss, absolute and lower 1/3.
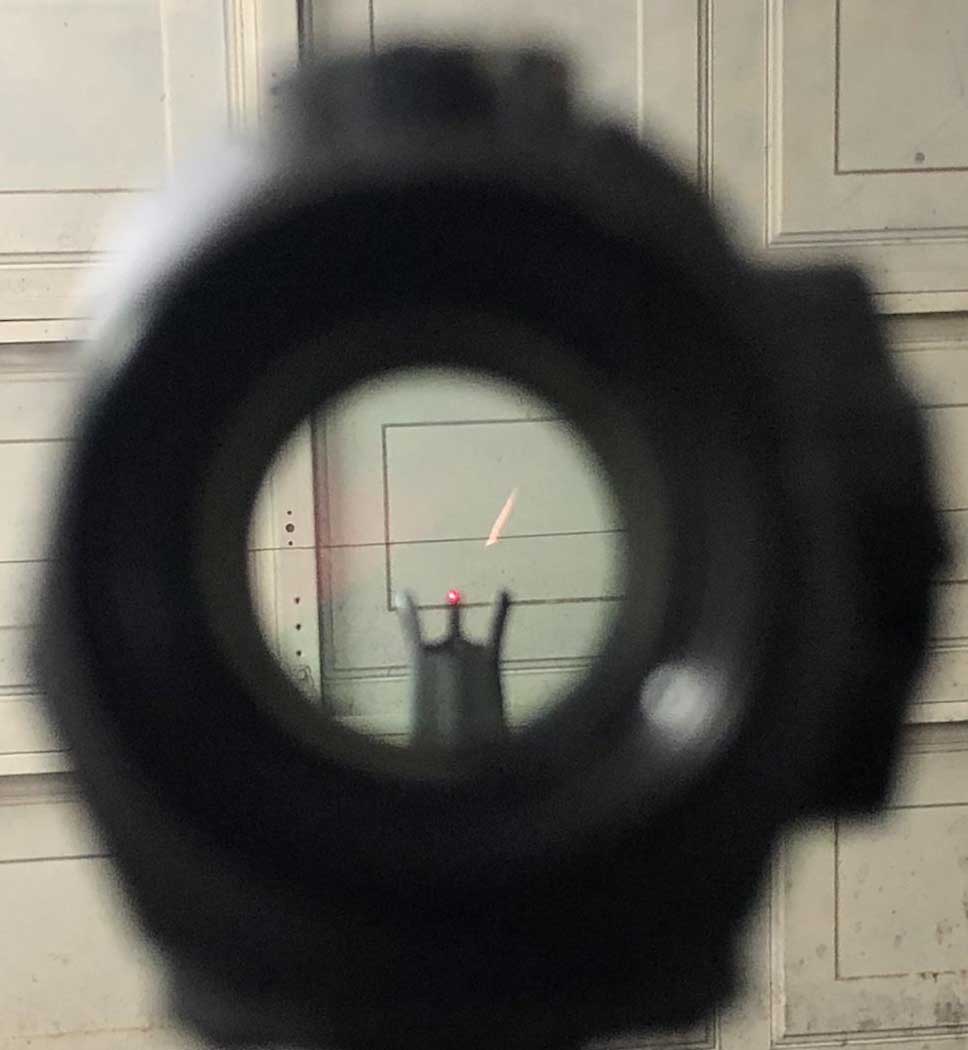
Absolute co-witness, pictured directly above, means that your back up iron sights will center perfectly in your red dot. The benefit here is that when you flip them up, you don’t need to move your head from it’s normal shooting position to get your irons in play, they will be looking straight through the middle of your dot.
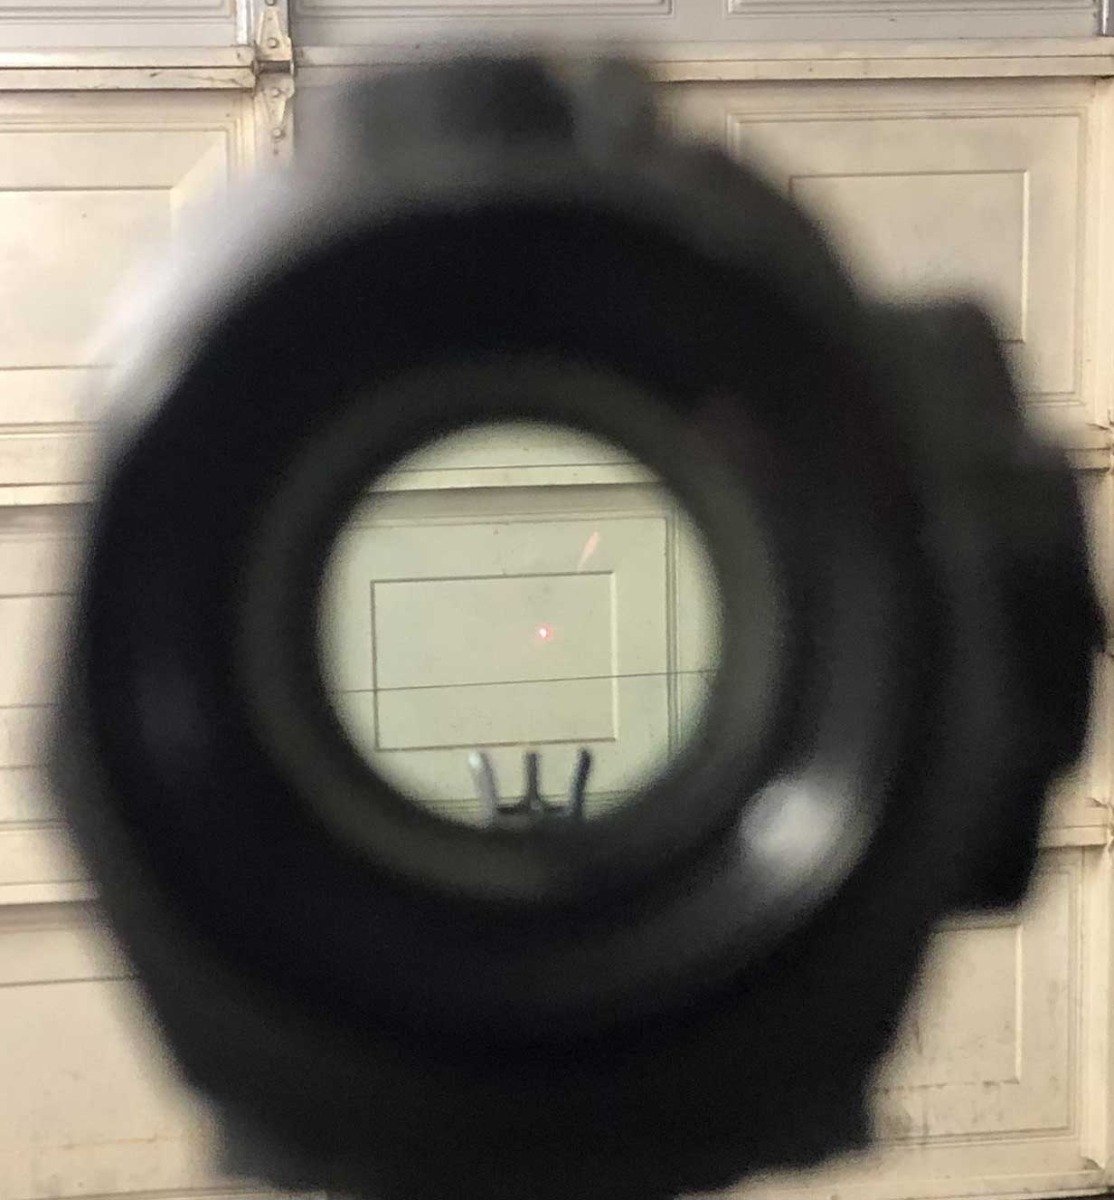
Pictured above, lower 1/3 sits with your red dot slightly higher which places your iron sights in the lower 1/3 of your optic. The benefit to a lower 1/3 co-witness is that it brings your head up higher to what some consider to be a more natural shooting position. If your red dot goes down, you need to move your head down slightly to get your irons on target.
One co-witness is not better than the other, they work well for different users depending on how you shoot. Try both and see what your eyes and brain like best. Oh, and don’t be afraid to change later on if you find something else working better for you.
Patrick "BabyfaceP" James is a garage gunsmith who loves anything mechanical. His motto is "With enough time and patience we can build anything and together we are learning the best way to build all things gun related."